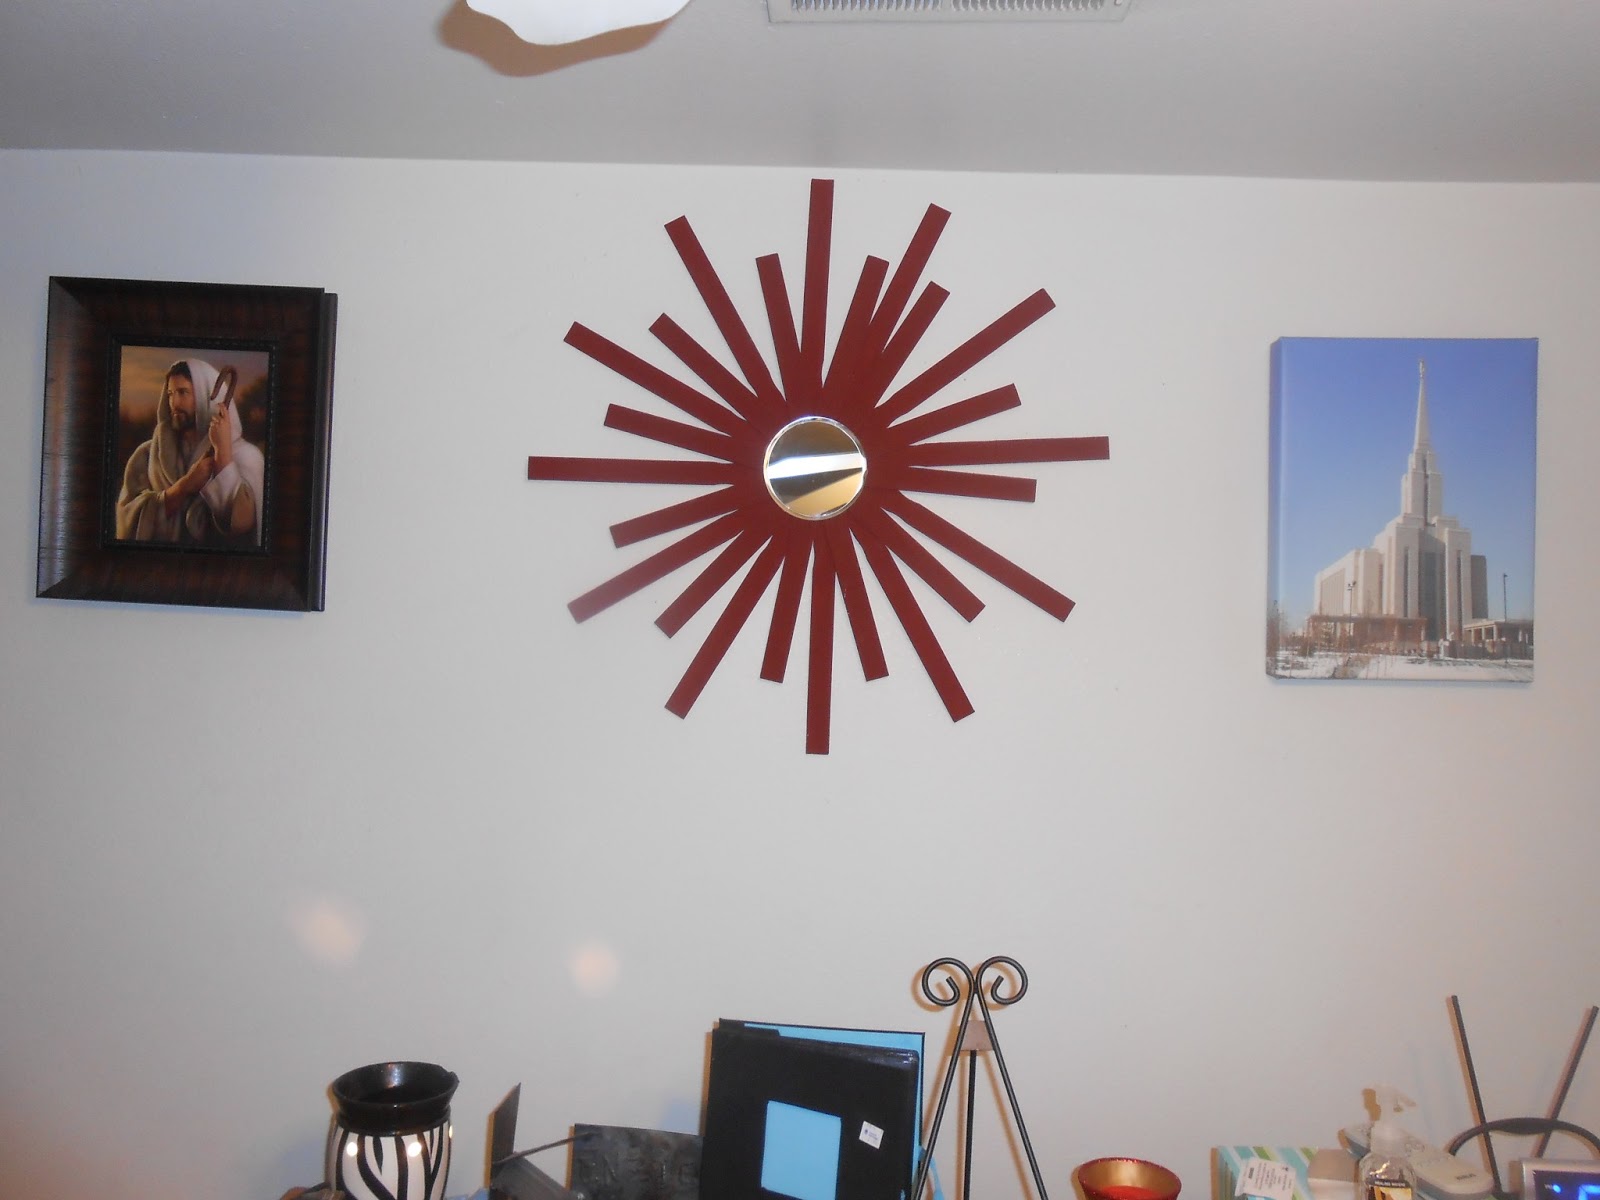
Yesterday I was roaming on pinterest and saw this and HAD to do it! It looked so fun and pretty easy, better yet it was SUPER cheap and stinkin adorable! This whole project only cost me……wait for it……..$2.14. But that doesn’t even count because I bought 2 bottles of paint. But only used about 3/4 of one bottle. So it cost only $1.57!! Wow? I think so. Go to this link here and see how much they sell something like this at Target. Now it doesn’t look exactly like this, but I think mine is cuter than Targets. You’re saving a lot of money by doing it this way!
To start off your beautiful sunburst mirror you will need the following:
- Round mirror tile. I bought mine at the dollar store, because I like to save money. The mirror that I got was about 5 inches in diameter. I called Hobby Lobby to see their prices it ranged from $2.99-12.99. They said the $12.99 one was about 12 inches in diameter. The reason I am telling you this is to let you know about how many paint sticks you need to get by going off the size of the mirror. The bigger the mirror, the more sticks.
- 24 paint sticks for the mirror size I got (5 in.) (These are usually free) People may wonder why you need so many. Now, let me tell you, the tutorial that I looked at said to use 50!! I went to Walmart and asked the little old man at the paint counter for 50 paint sticks. He looked at me with concern in his little blue eyes, I said it was a craft project I was working on. I even offered to pay for some, I felt like I was robbing Walmart! The little old man went to the paint counter and counted out 50 sticks, I offered to pay again, and he smiled at me and said, this is the only thing in life that’s free. I smiled at his kindness, and told him thank-you. He made my day! 🙂 Sorry for the story. It was just so cute, don’t you think?
- Wire cutter pliers
- Paint .57 cents at Walmart.

- Ruler
- Hot glue gun/glue sticks

Step 2:
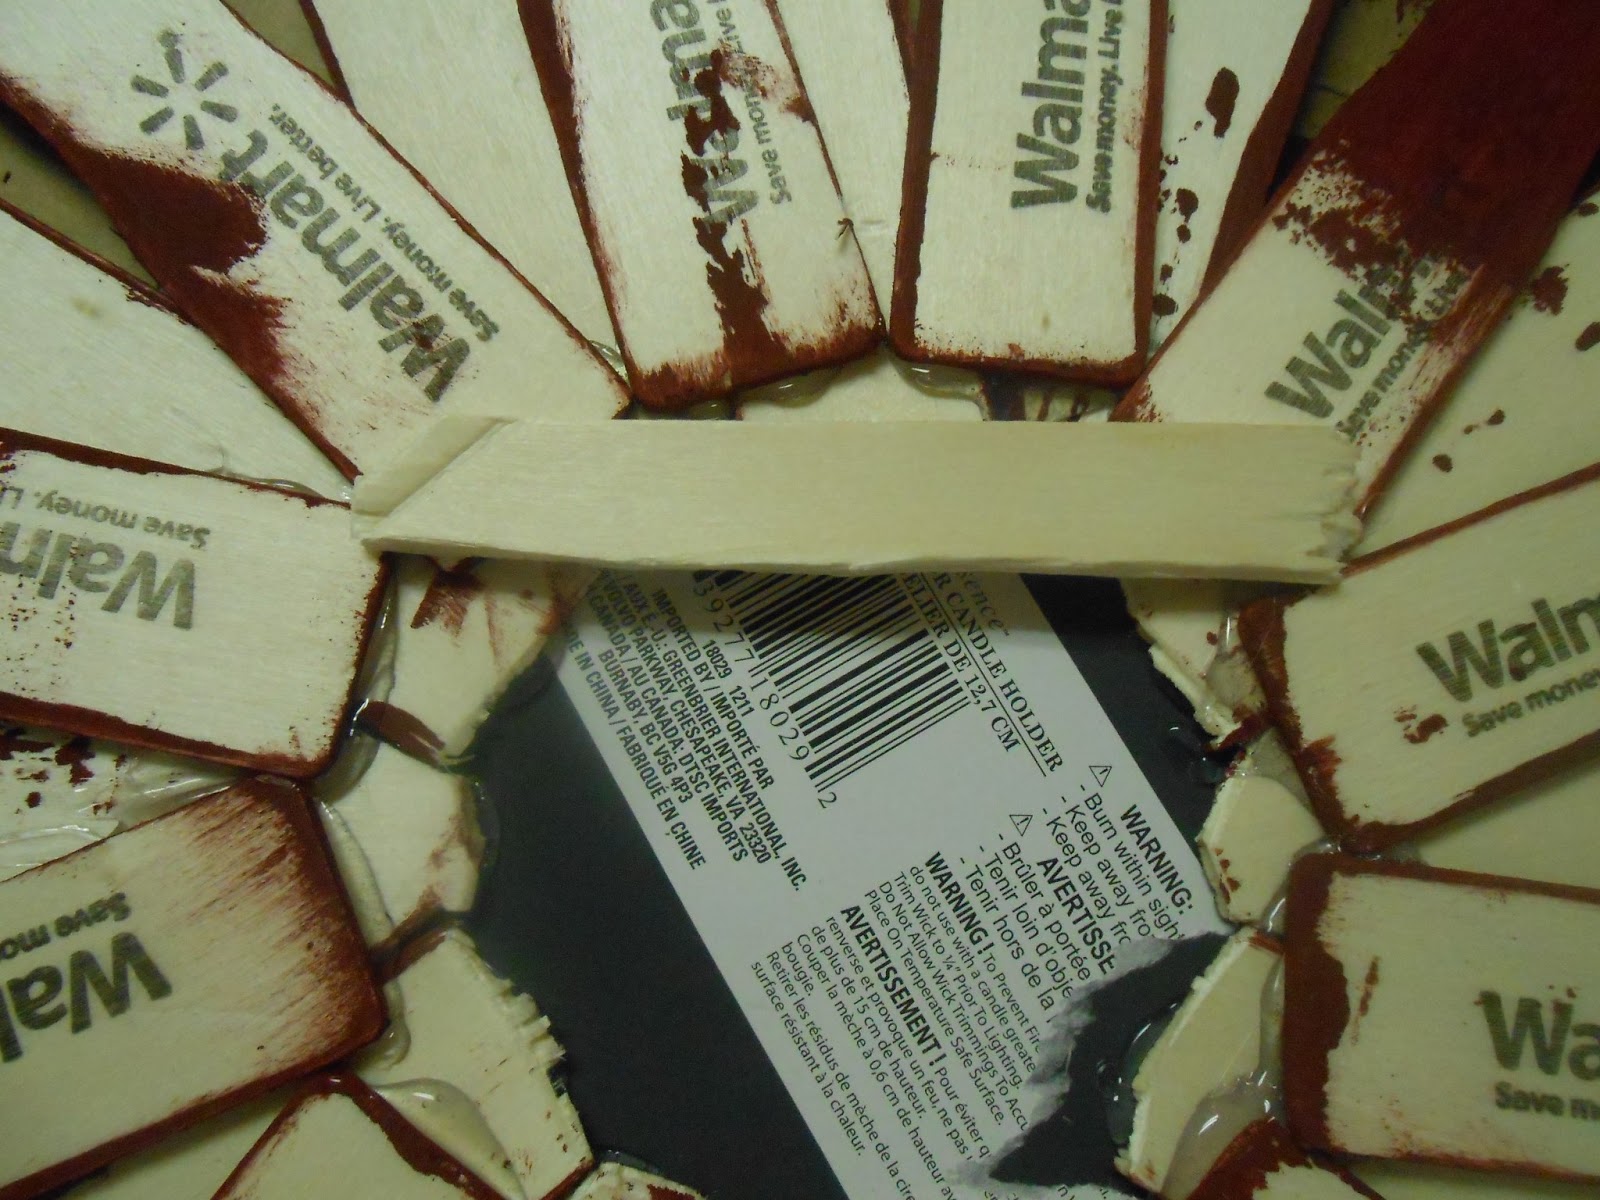
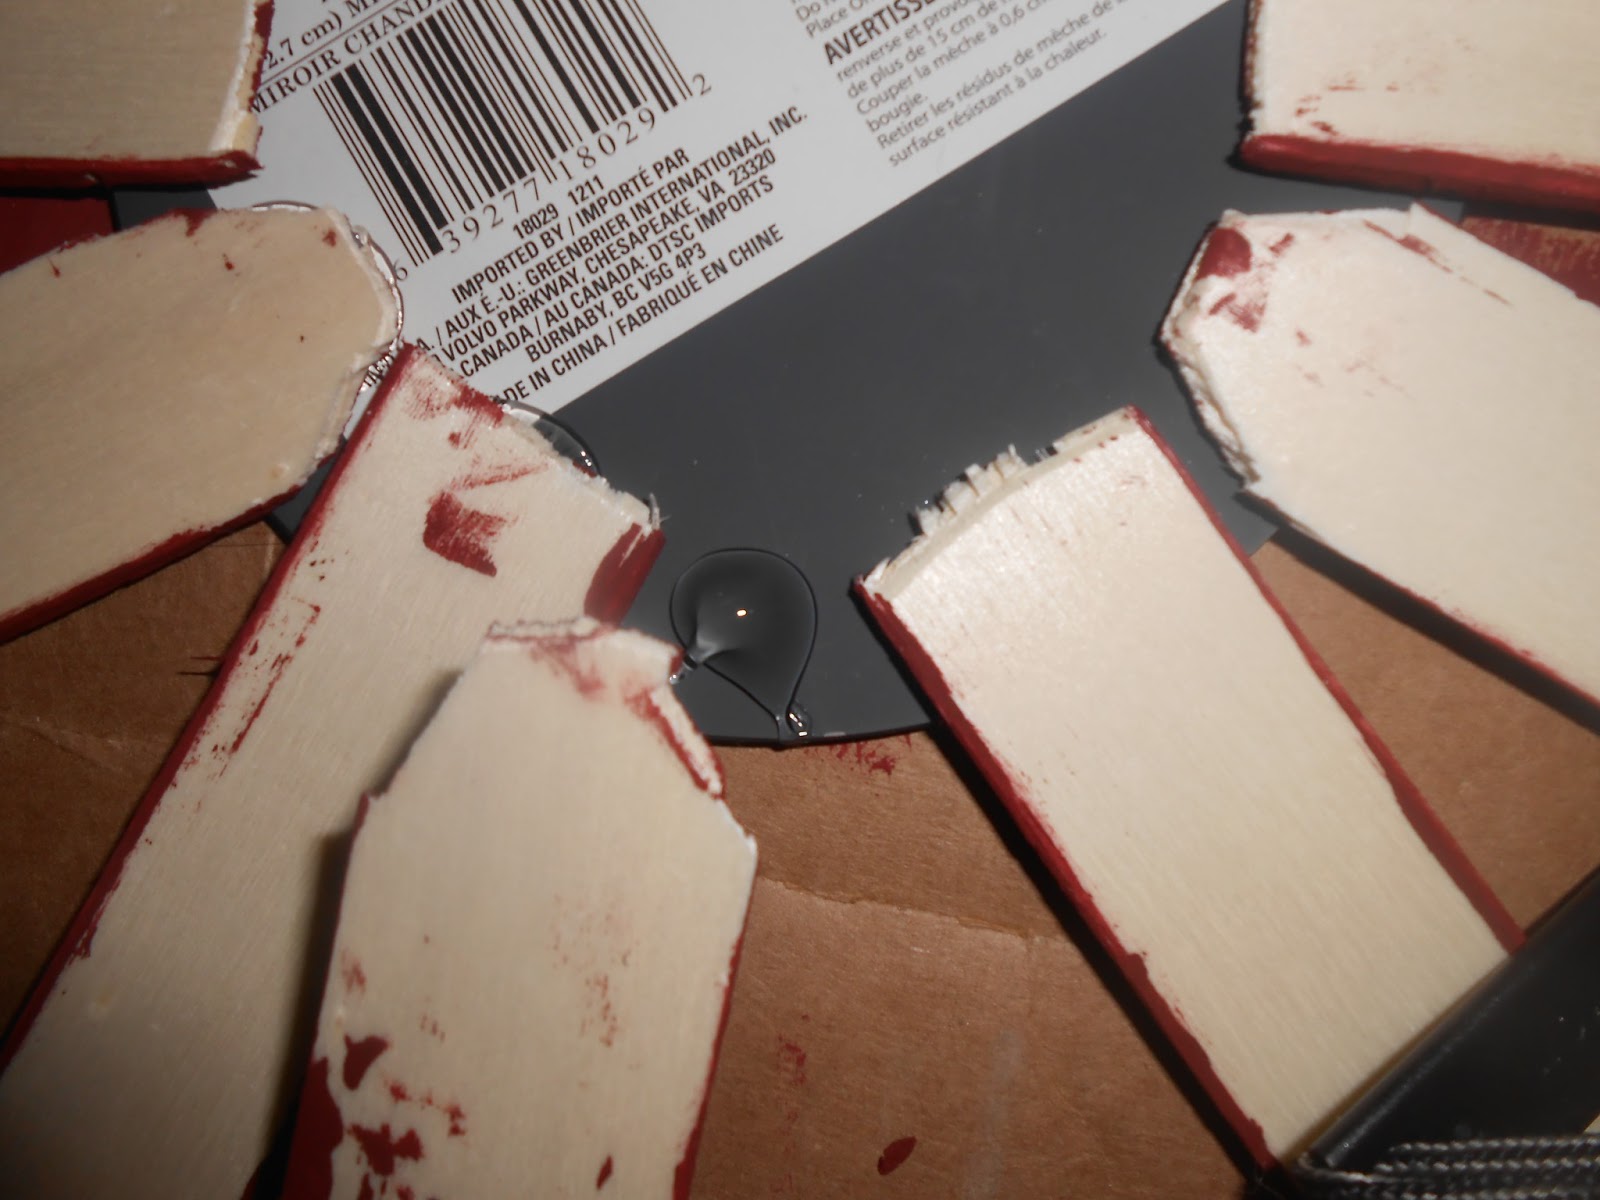
Take half (12 for me) of your paint sticks and cut them with wire cutters. This is where your ruler comes in, I took my ruler and measured 9 inches. I drew a line and that is were I cut it. It just so happens that I was able to cut them without measuring again. We cut them right at the end of where the divots are. (Actually my husband cut them, he is so wonderful! I am lucky to have him!)


Step 5:
Once the sticks are dry, lay the 12 ones that you cut on the back of the mirror with the paint side down. This just makes sure that they all fit, and if they don’t, then you can cut the edges off more. We did a pattern with the sticks, and went every other one. That probably doesn’t make sense, we went–cut edges, straight, cut edges, straight, etc. Hope that makes sense? Look at the picture for better understanding. (See this is why I wish I would have painted both sides, it’s ugly, but nobody see this side, so it’s really not necessary!)

Step 6:
-Once everything is in place start hot gluing the sticks onto the back of the mirror. Try to get the sticks across from each other to be in the exact same spot. Your finished project will look more even.

Step 7:
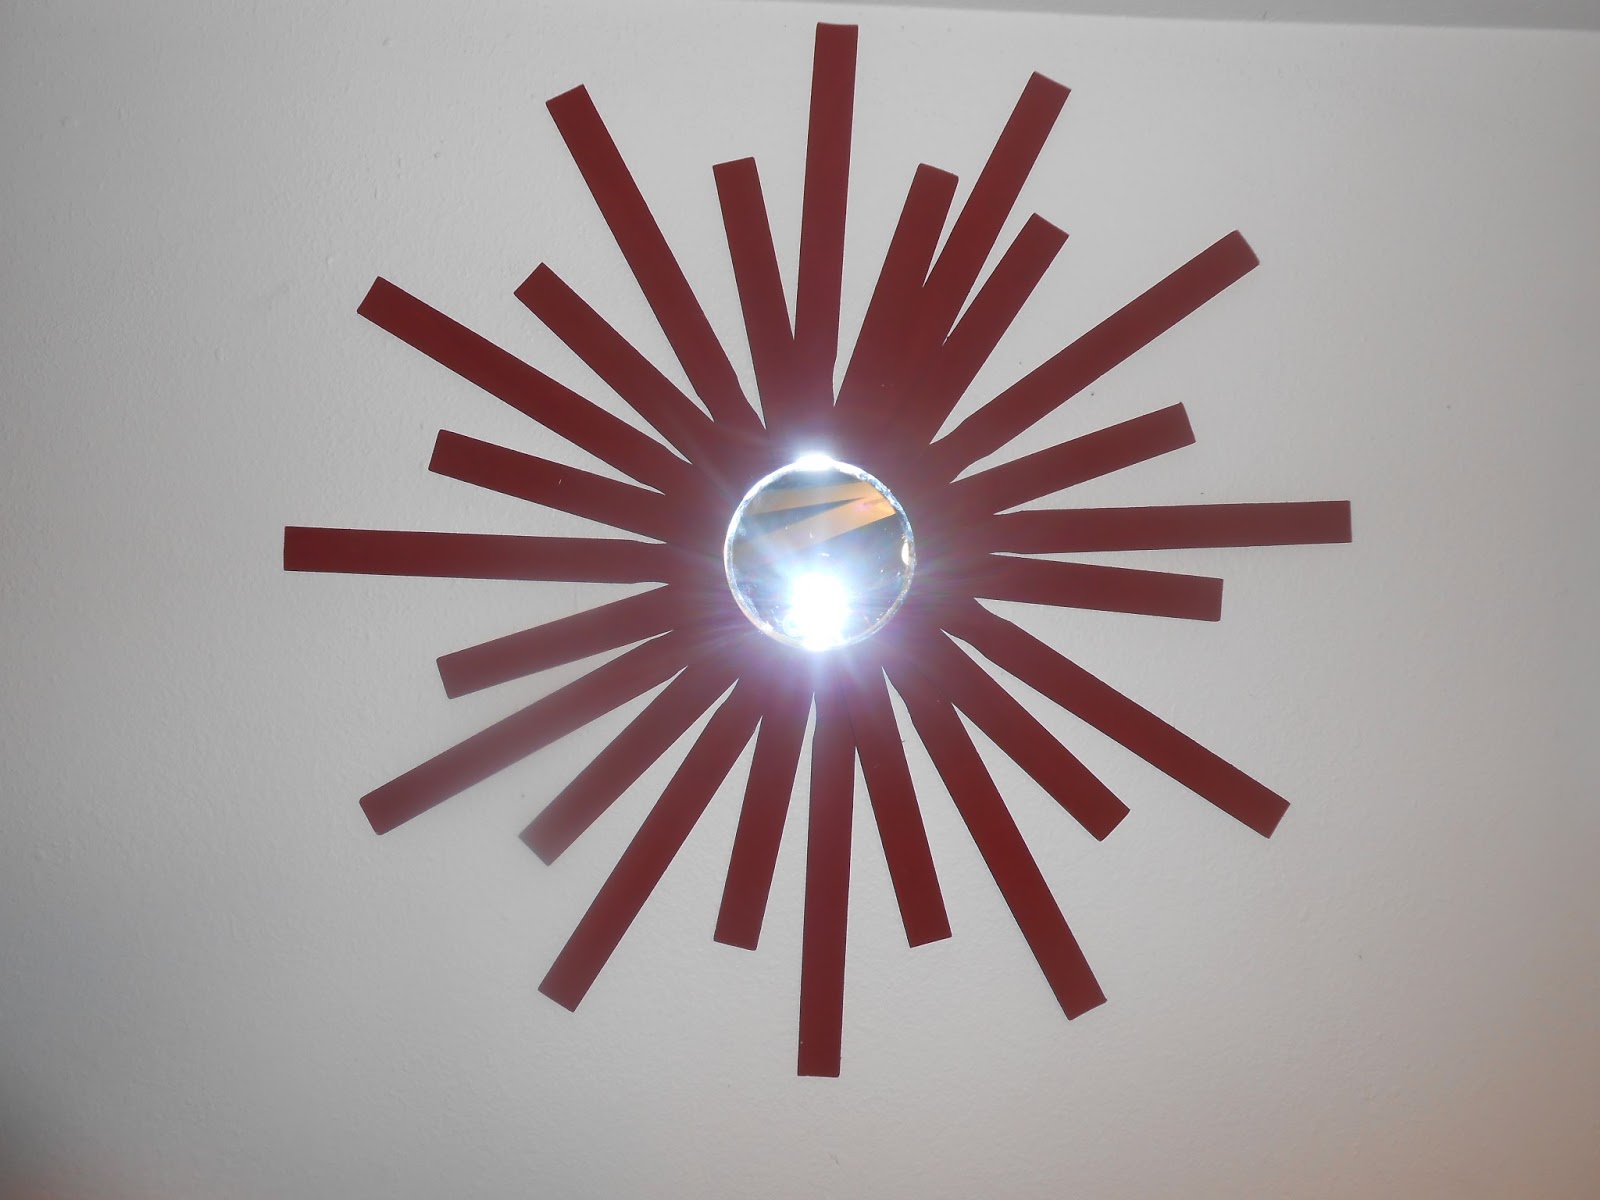
Flip it back over ( I know you just want to keep it as it is, but it will be even prettier, I promise! ) and start hot gluing the other 12 sticks that you didn’t cut. Put them in the gaps in between the ones you cut.

I painted a few of both sides, but I wanted to see the finished project so I rushed through it!
Step 8: (LAST STEP!) 😀
We were trying to figure of a way to hang it and my husband thought of this, which is brilliant, and a money saver! It’s not too pretty, but no one see the back so who cares!? Not me. 🙂 We took a piece from one of the paint sticks we cut and hot glued the ends of the paint sticks on the back and then just hung it with a push pin.