DIY Curtains!
(only $12.00 or less)
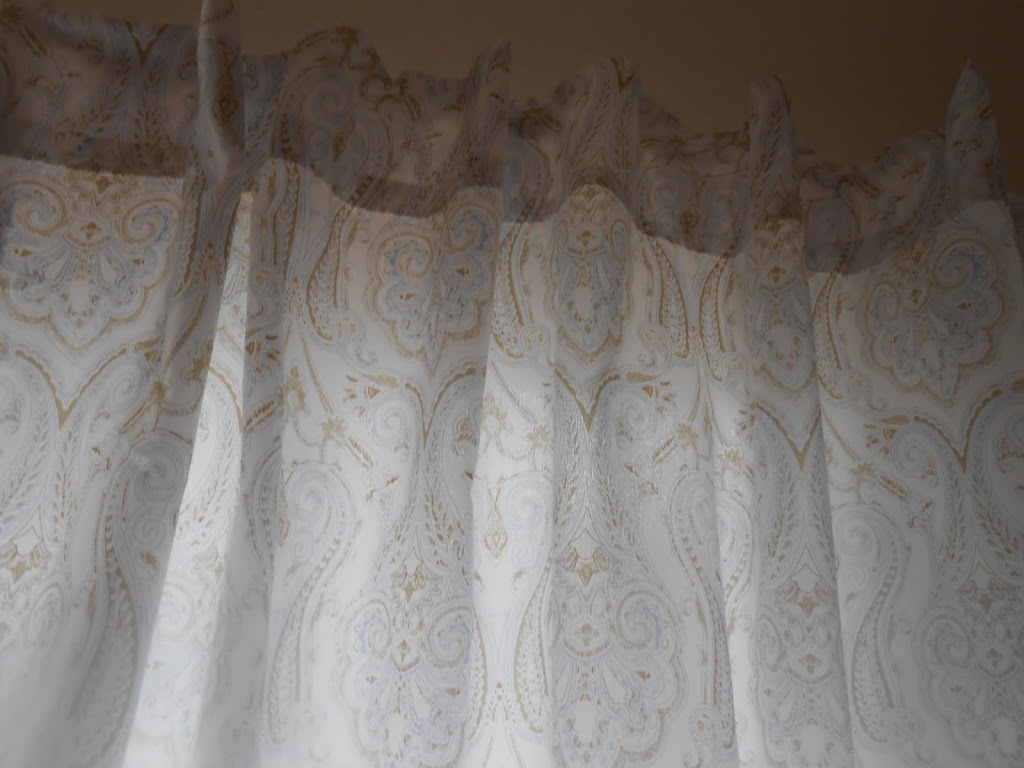
I made my own pleat! Oh yeah!
I’ve been needing curtains in my room forever! We don’t have blinds so we’ve had a blanket over our window. It makes our room soooo dark and creepy, I hated it. Finally, yesterday I got the courage to attempt to make my own curtains because they’re too expensive to buy! I took off that blanket and couldn’t believe my eyes, my room was lit with natural light, it was a wonderful site. 🙂
One of my favorite parts of my project was watching my daughter laugh at me! I was trying to put up a queen sheet of my own to see if that was a good size sheet to buy and use as curtains, and she laughed at how hard I struggled to put that sheet up.


What a little cheese ball!

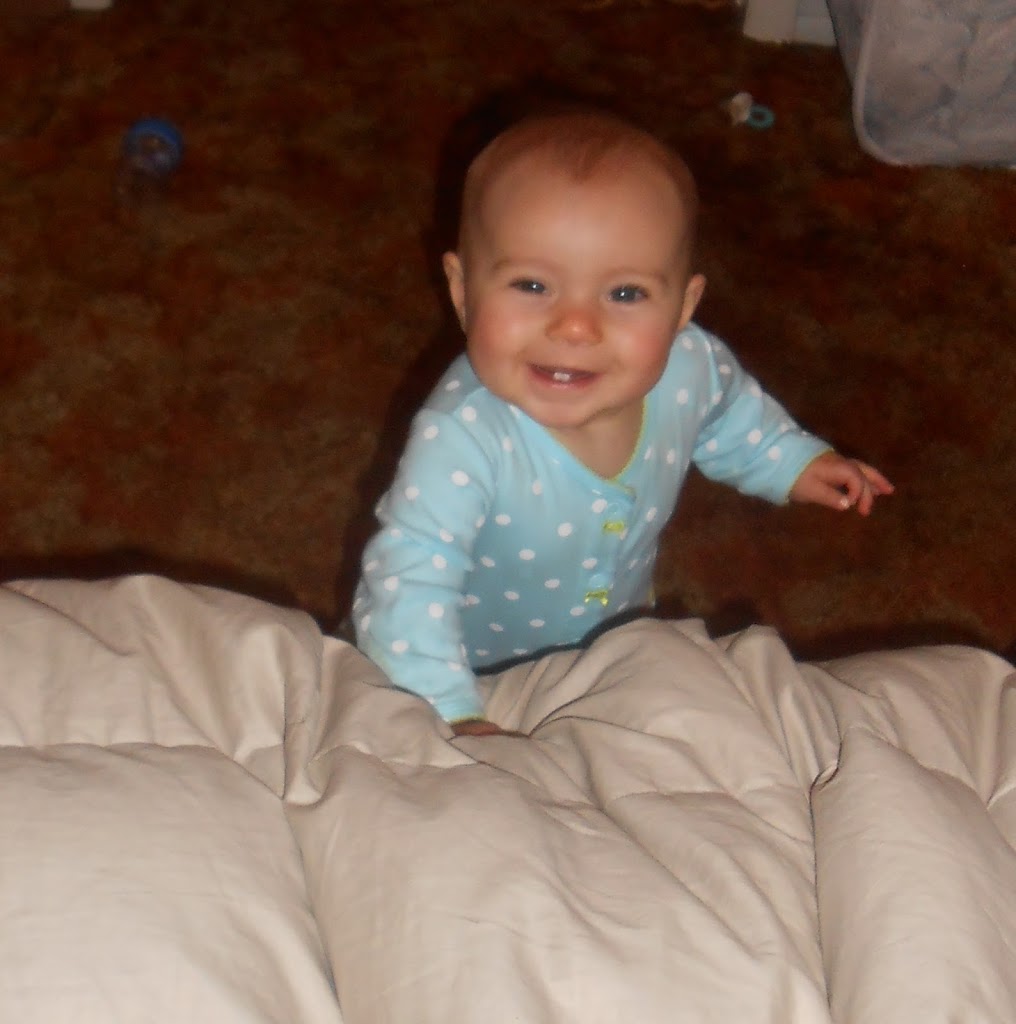
Isn’t she the cutest thing ever!?
Supplies:
- Queen size sheet or fabric. You’ll have to measure your window to see what you need. My window was 76 in. wide.
- Heat n Bond (ultra hold works the best!) This stuff is amazing!! It’s for us no-sewers. 🙂 I got mine at Walmart in the sewing section.
- Ribbon
- Hot glue and glue gun
- Scissors
- Tape measure
- Iron
How to:
Step 1:
-Start out by measuring your window, as I said earlier. That way you can see what size sheet you need. I happened to need a queen size sheet.
Step 2:
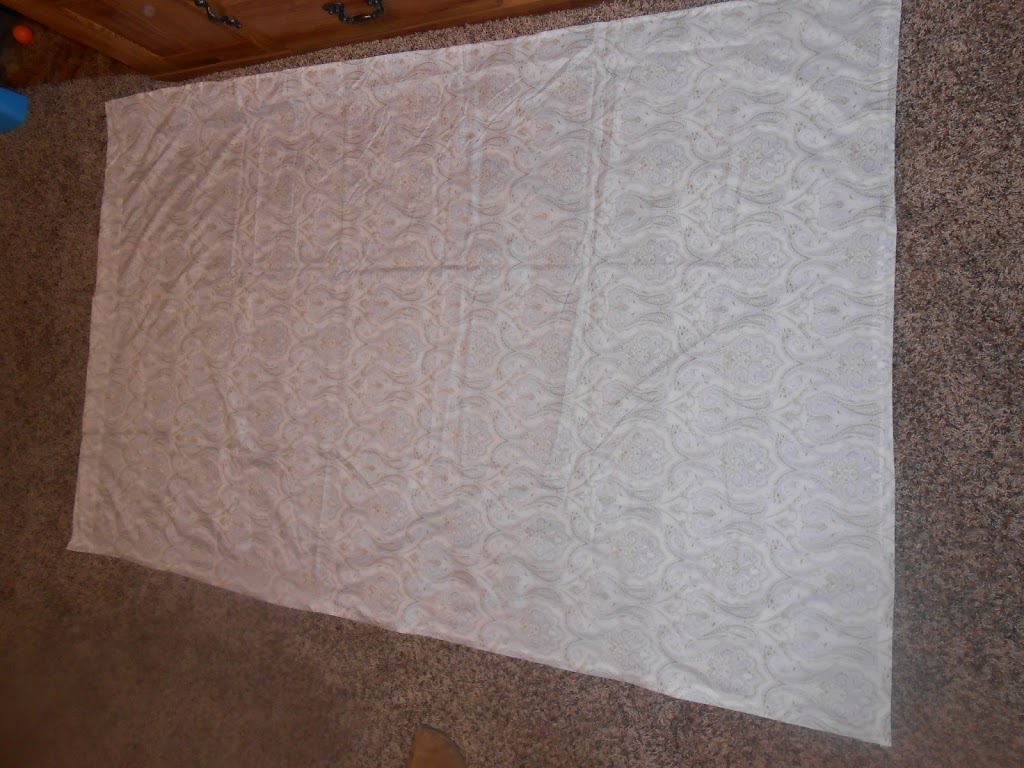
-Measure your sheet and cut it in half up and down, it doesn’t have to be perfect, but don’t make an awful cut! 🙂
-Once it’s cut length wise cut both your curtain halves at the bottom. You’ll need to measure how long you want your curtains to be. If you want them to touch the floor then measure from the curtain rod to the floor. I wanted mine just a little bit shorter and not touching the floor.
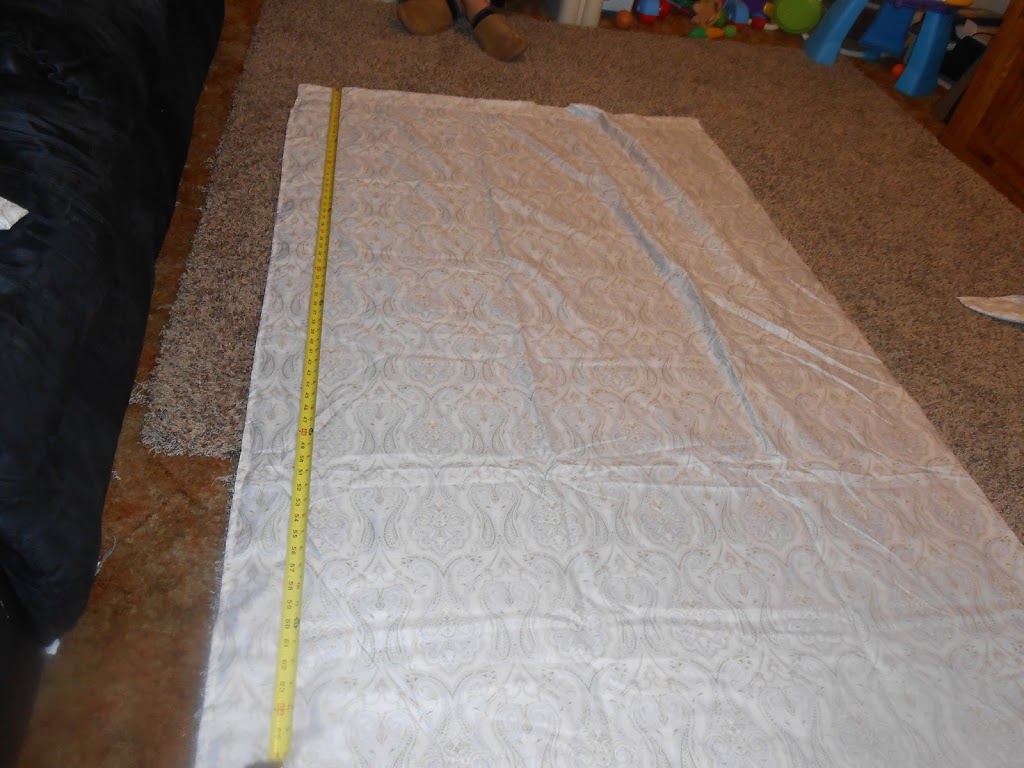
This is just one of my halves. Make sure you do both!
Step 3:
-After your curtains are cut, get your amazing Heat n Bond. Now, I have heard of it before, but I never knew it was so magical! This stuff is awesome if you can’t sew! I want to do many sewing projects and use this stuff instead, it’s really awesome! 🙂
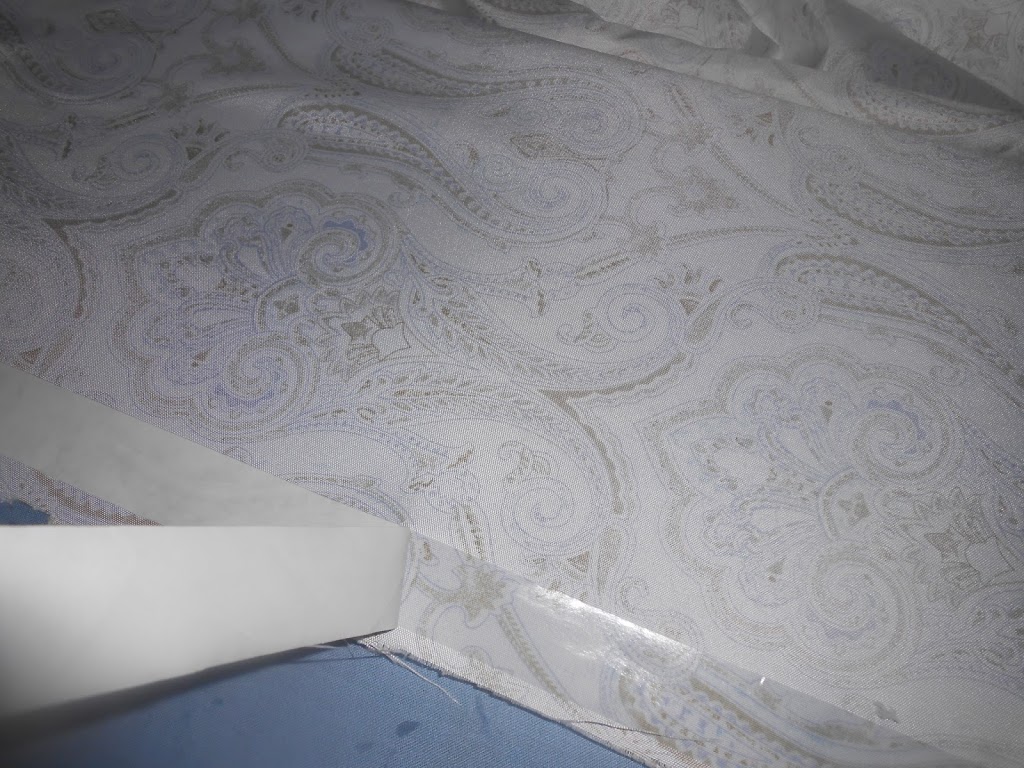
-Take one curtain half and flip it so the pretty side is down.
-Take heat n bond and put the sticky/scratchy side down, smooth side up on your upside down fabric.
-Iron the heat n bond onto fabric. (Wait for it to cool about 10-15 seconds! It will burn you if you touch it right after you iron it. I know from experience, unfortunately!)
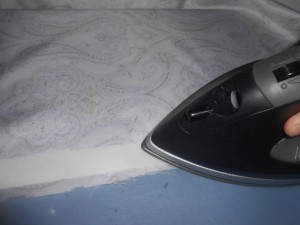
-Once it’s cooled, take off the white paper on top.
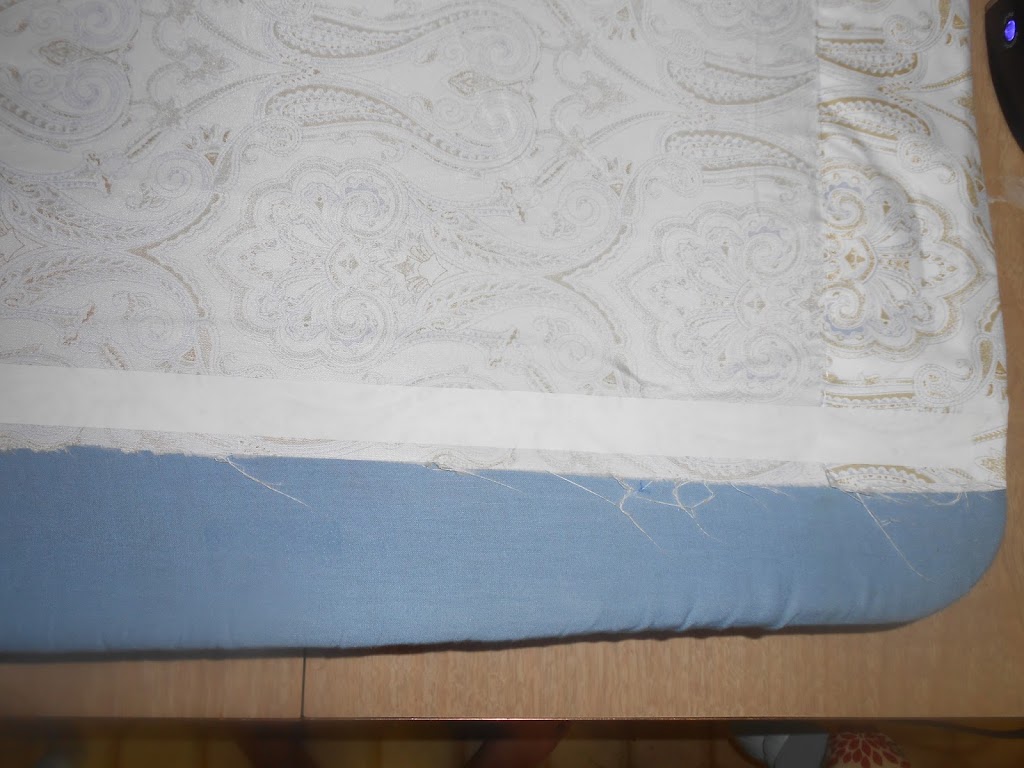
-Fold over fabric and iron again. This will make it stick and you’ll have a straight edge instead of a scratchy cut one.
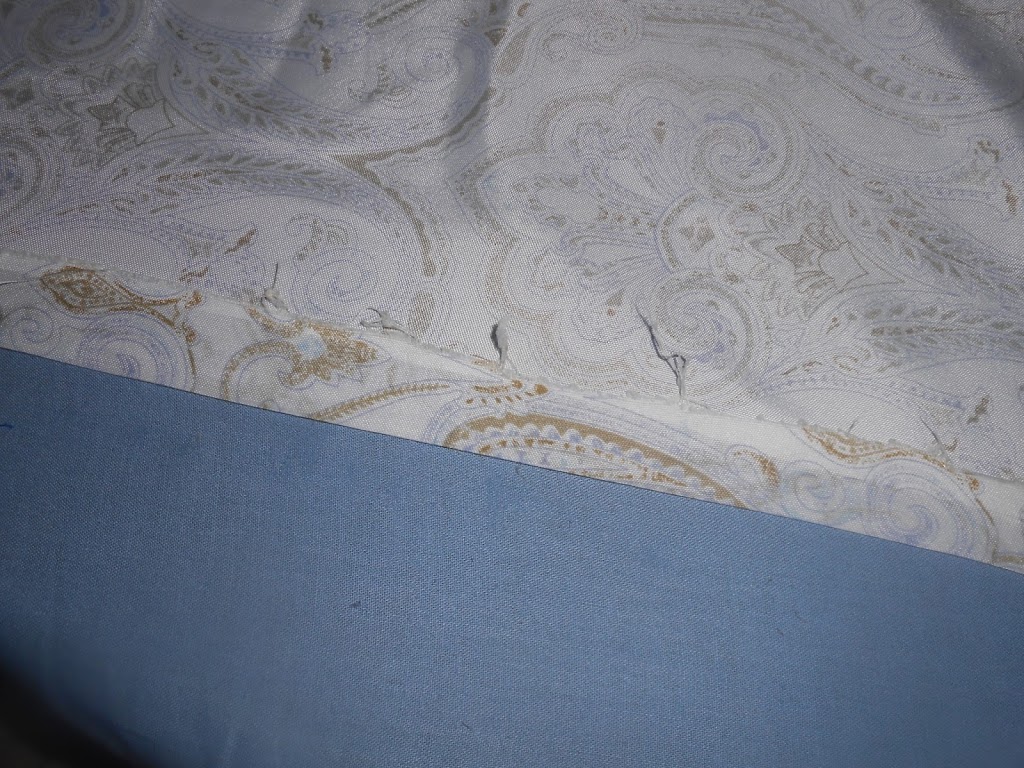
It’s not ironed here. I just didn’t take a picture of it ironed.
-Do these steps to every edge you cut to make it a straight edge. Do it with the other curtain. Once your done it should look like this.
Step 4:
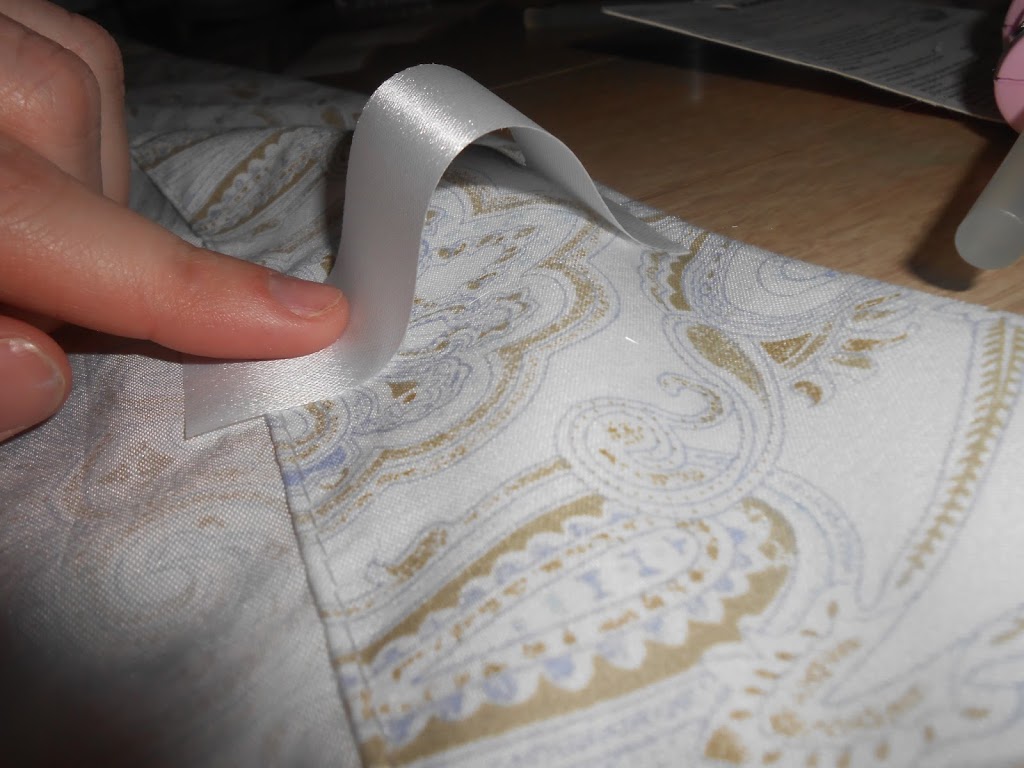
-Take your ribbon and cut out 14, 2 inch strips. (7 for each curtain) The ribbon is going to hold your curtain up. So you can cut as many that satisfies you and your curtain.
-Hot glue the ribbon to the back of the curtain. I glued the top, then the bottom. Make sure you can put at least 2 fingers in between your ribbon. Just to make sure you have enough space to put it through the rod.
-Once it’s glued you can cut off the extra ribbon so you don’t have alot of excess ribbon. Once it’s done it should look like this.
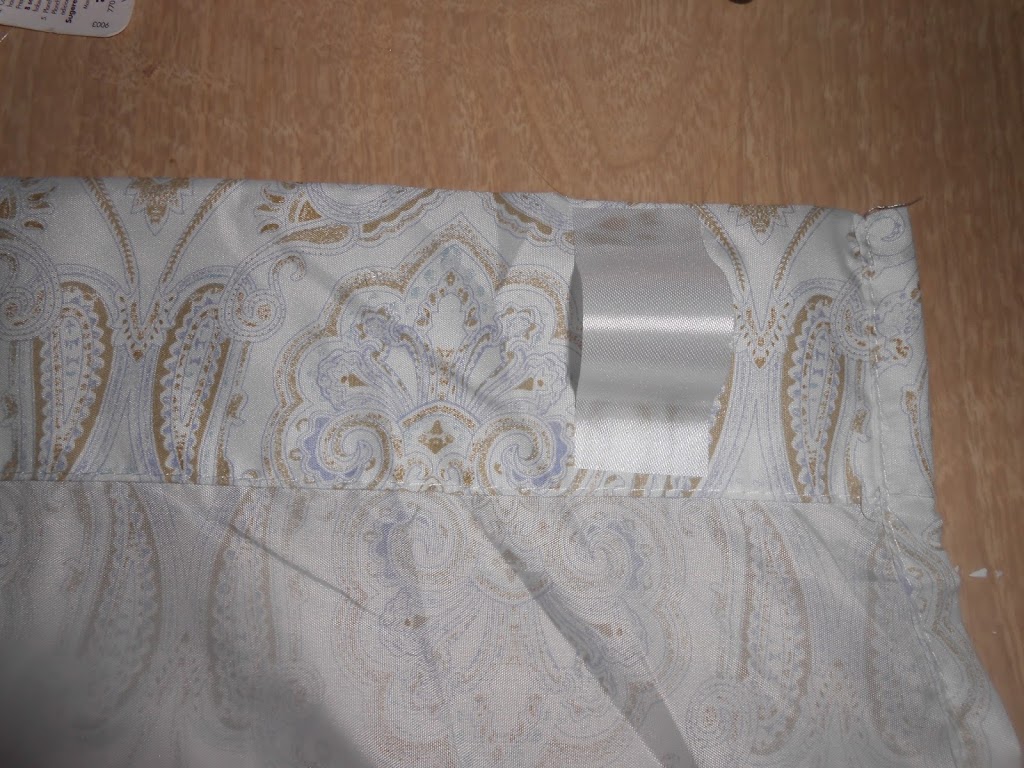
I would have put the ribbon and the very ends instead of where I put it in this picture. When I hung my curtain it kind of flopped down because nothing was really supporting the ends. But it’s not noticeable, unless you made the curtain. No one will know the difference. 🙂
-Glue the rest of the ribbon on and your finished and ready to hang them up!
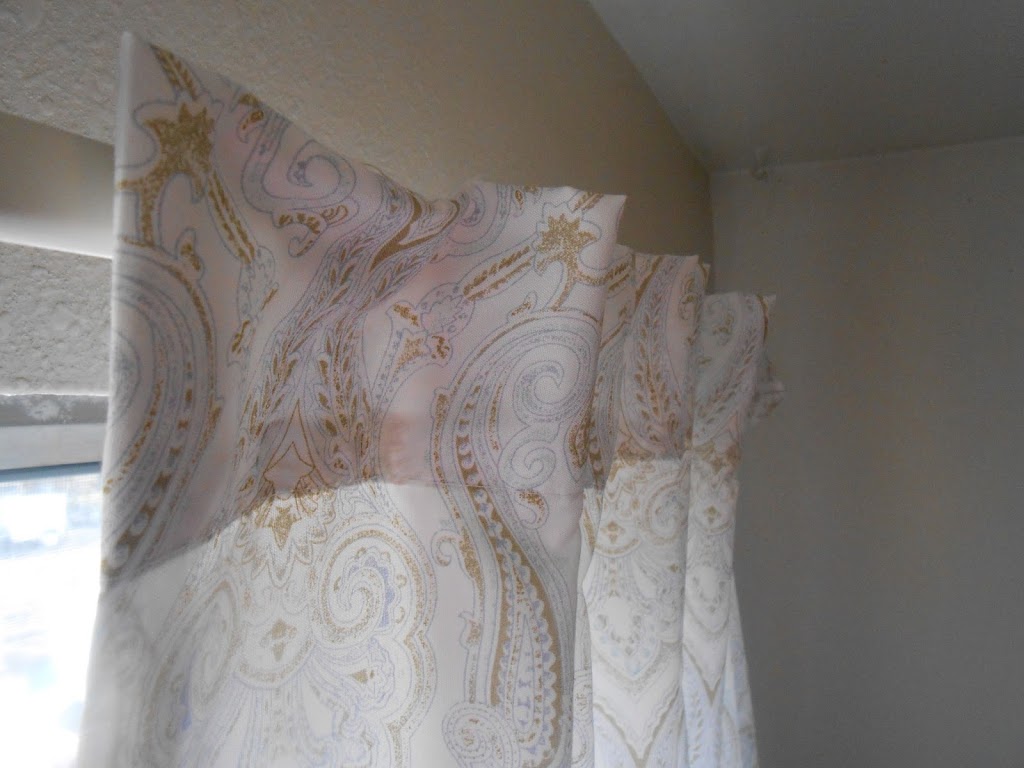
They make a good pleat!
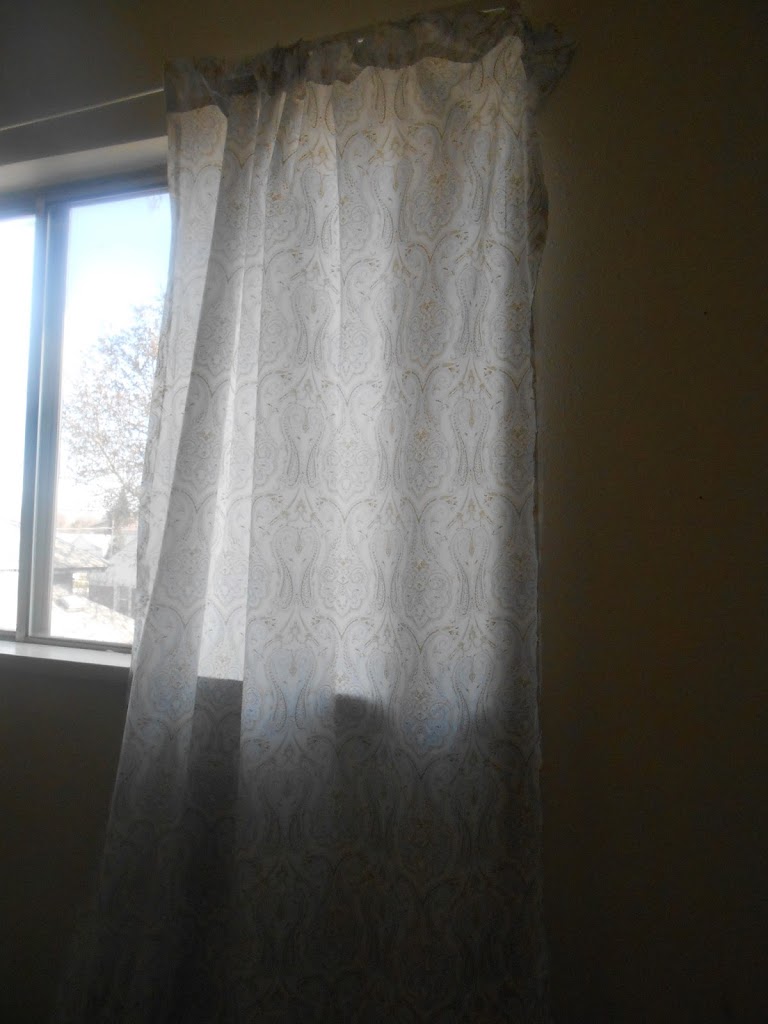
I couldn’t get a great picture because I don’t have blinds.
I love my DIY cheap bed sheet curtains! It was so worth it and I am glad I don’t sleep in a dungeon
anymore. 🙂 I woke up this morning to the light. It was wonderful site! Have a great day! 😀