Posted on

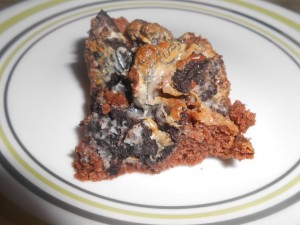
Oreo Cake Fudge Brownies

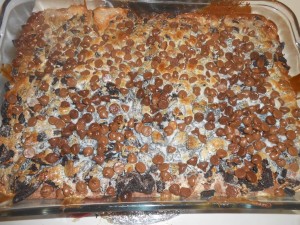
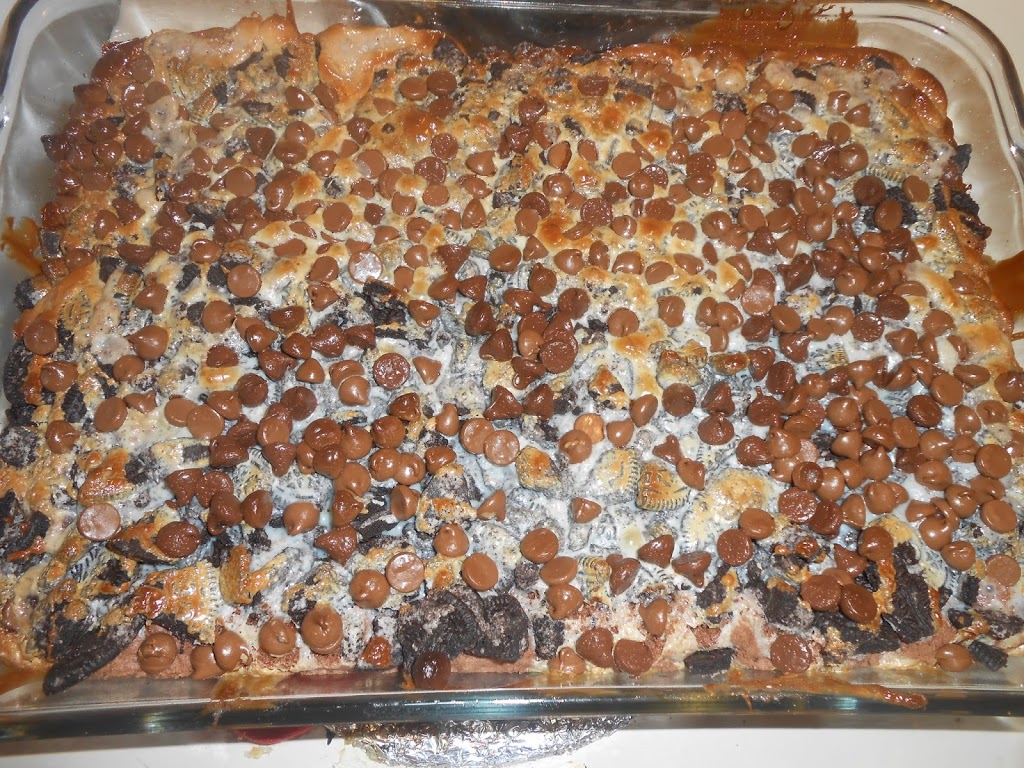
Is your mouth drooling yet from the title of this post yet. Well let me make it happen for you right about now….these yummy cake brownies start with a layer of chocolate brownie cake, then have 3/4 of a bag of oreos (or the whole bag if you are feeling dangerous!), you then put a whole can of sweetened condensed milk (to sweeten things up a bit more), finally you top it off with 1 1/2 cups of milk chocolate chips. Did your mouths water!? Mine did.

Oh, they’re so good. I want some now. 

These cake brownies are the easiest things on the planet. I wonder how on earth I ever survived my whole life without these. Credits go to pinterest and this blog for the wonderful recipe. I just explained above how to make them, but I will break it down to the basics, below.

The day I made them I had my nieces come over. They insisted that they needed one. I gave them each a brownie, and one of them said, “you could become famous for these.” Was this just a simple sweet statement from a child or was it true? See for yourself and let me know!

Be ready for awesomeness.

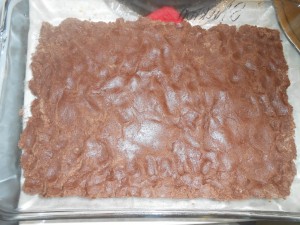
Mix your cake mix, butter, and egg and do this in a 9×13 pan.
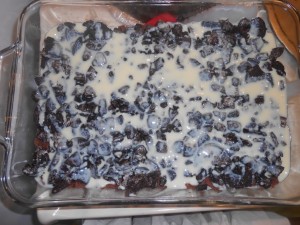
Put your oreos on top, then your sweetened condensed milk.
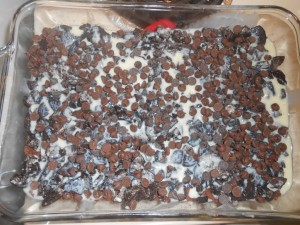
Then add the chocolate chips. Feel free to put a little more on there. You only live once!
Bake your treats for 20-25 minutes.
Enjoy the treats that can make you famous, according to an 8 year old.
I do have to ask, now that you’ve made these do you think you can become famous over these? I think she was right. : ) 
Children are so wise

INGREDIENTS:
Chocolate cake mix
1 stick of butter melted (I use salted, but most people use unsalted.)
1 egg
1 1/2 cups chocolate chips
3/4 bag of oreos crushed  (or the whole bag if you’re feelin dangerous, as I said before.)
14 oz. can sweetened condensed milk

What to do:

  • Pre-heat oven to 350 degrees
  • Get a 9×13 pan and grease it with cooking spray
  • Mix your cake mix, butter, and egg in a large bowl, it will turn into a brownie like mixture. You may have to use your hands after a while it will be tough if you don’t.
  • Press the cake mix that looks like a brownie mixture into your 9×13 pan
  • Place the crushed oreos on top
  • Pour your can of sweetened condensed milk all over the top of the oreos
  • Top with chocolate chips
  • Bake in pre-heated oven for 20-25 minutes
  • Take out and let them cool for 10 minutes. (These brownies will be super gooey for about an hour. After that they aren’t as gooey and super delicious!
Please follow and like us:
Posted on

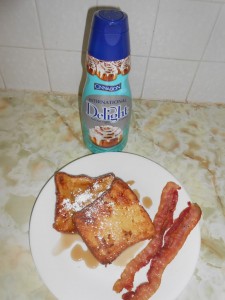
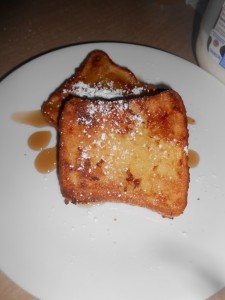
Cinnabon Cream French Toast

This post sounds risky, but let me tell you, it’s not! I personally have never liked french toast, ever. Since yesterday was conference I decided to make a big breakfast and give french toast one last chance, if it wasn’t good this time  it would be on my bad foods list forever. I knew I had to make it so I would fancy it. But what to do….?

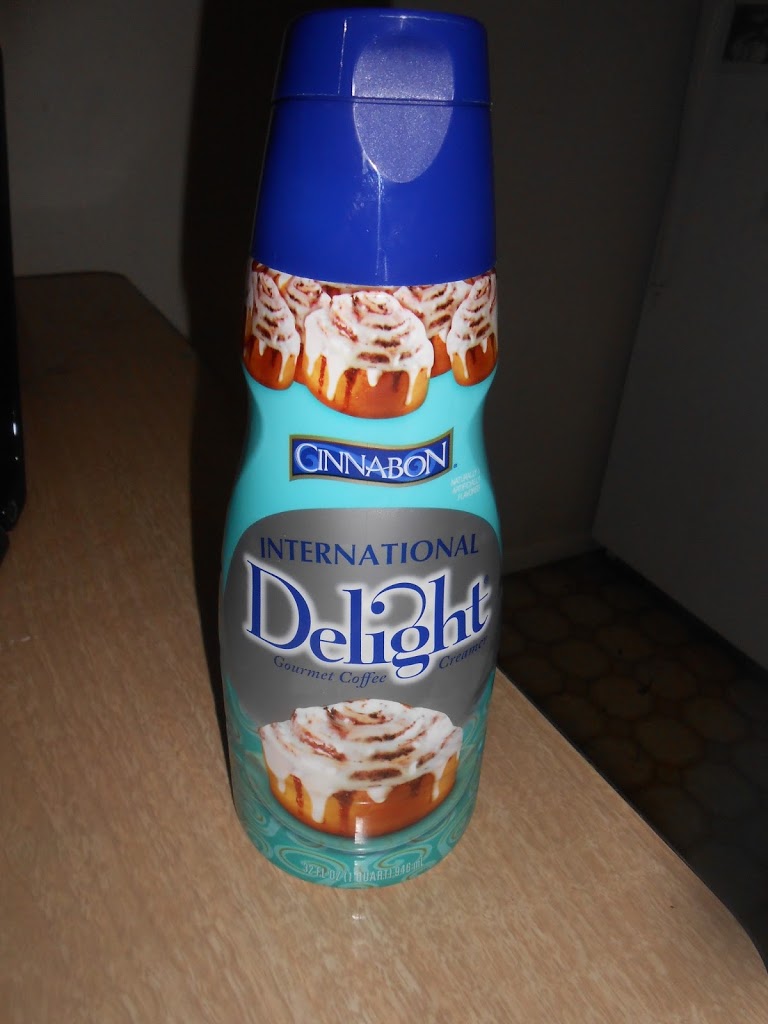
I decided put this in, instead of milk. It succeeded and it took french toast off the chopping block. If it is made this way at least.
Are you ready to hear the best part of this recipe? It doesn’t even need syrup! I did use syrup on some because I ran out of my sugary mixture that I put on the french toast. But if you have the sugar mixture you won’t need very much syrup or none at all! I like to bake my french toast instead of putting it on a griddle. I think it tastes better baked. 🙂
So would you like to know how to make it? Okay I will give you my secret recipe. I am pretty proud of myself because I thought of this on my own. I did get an idea from one recipe but mixed some ingredients up in it. I hope your ready to get sugared out. It’s worth it, trust me! 😀
Cinnabon Cream French Toast
Serves 5 
Invented by: Mackenzie Stockton (ME)
Ingredients:
Texas toast bread
1 cup cinnabon coffee creamer 
4 eggs
1/4 cup brown sugar
1/2 cup butter + 1 tbs
1 tbs honey
Instruction:
  • Preheat oven to 375 degrees.
  • Melt your 1/2 cup butter in a medium skillet. Add your brown sugar and honey. Once it starts bubbling, take off burner and pour onto a plate. Take your bread and coat both sides in the brown sugar mixture. 
  • Mix your eggs  and creamer in a cake pan. (That’s all you need because of the sweetness of the cream! Isn’t that awesome!?)
  • Melt your 1 tbs of butter in a skillet and let the bread brown just a bit on both sides. (The reason I poured the brown sugar mixture onto a plate is because if you brown your bread in the brown sugar mixture on the skillet it will use all the sugar mixture on just one piece of bread.)
  • Once your bread is browned, dip it in your egg and cream mixture then put on a cookie sheet.
  • Bake for 20 minutes at 375 degrees.
Enjoy your yummy french toast. You will enjoy it, I promise! As I said before I don’t even like french toast and I loved this! 🙂
Now I’m sure someone has made something like this, but I didn’t look it up and I thought of it on my own so therefore I invented it. 🙂
Please follow and like us:
Posted on

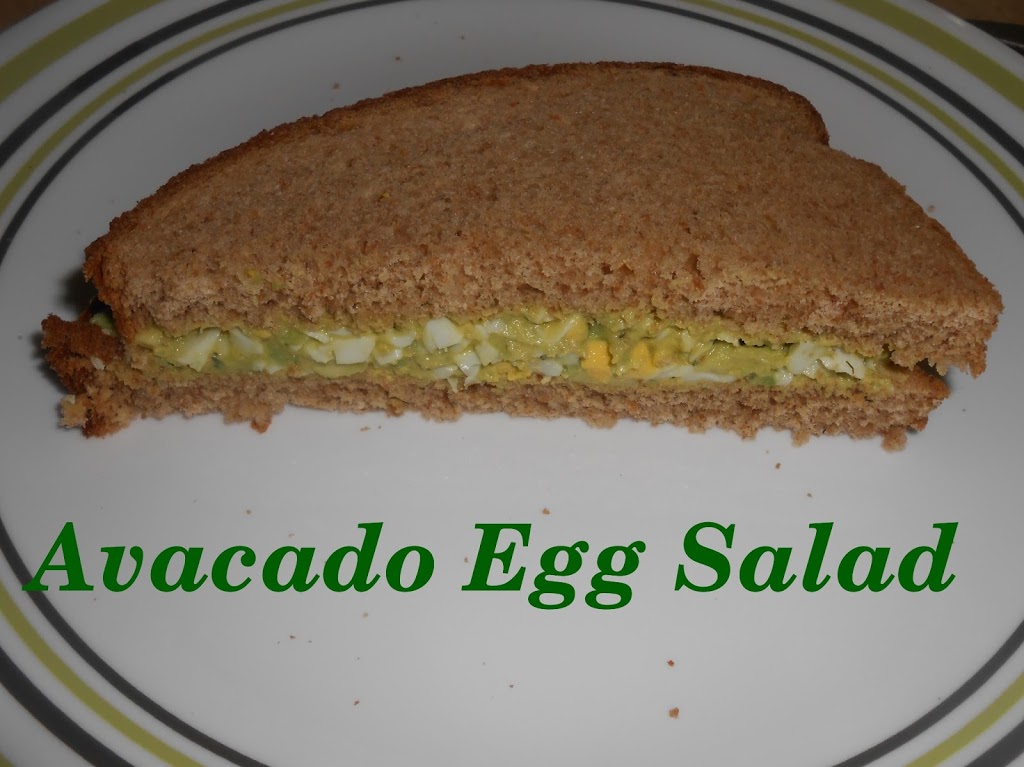
Avocado Egg Salad Sandwich’s

My last post I showed you how to hard-bake eggs, not boil. And as I promised, here is how to make my favorite sandwich after making hard boiled (baked this time around) eggs. Now before I start I want to tell you that I don’t like egg salad, but adding the avocado really changes thing up, and make it eatable! This recipe is great if you love pickely/vinegary things. Even if you don’t love that flavor as much I really suggest you try it. You won’t regret this yummy sandwich!


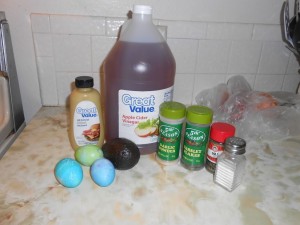
Ingredients: (makes about 3-4 sandwich’s depending on how much you stuff your bread)
1 avocado- I love the avocado so I add more because it’s the best! 
3 hard boiled eggs – click here to see how I baked mine! (Don’t you love the colored eggs too? 🙂 )
1 tsp dijon mustard
1 tbs apple cider vinegar (1 1/2 tbs for me)
1/4 tsp dill weed (I put a bit more in)
1/4 tsp garlic powder
1/4 tsp salt
Dash of parsley flakes
How to:
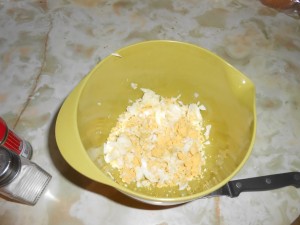
  • Get your 3 eggs and cut them up into small pieces.
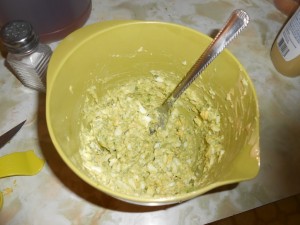
  • Take your avocado and mash it up with a fork
  • Combine all of your ingredients with the egg.
I shouldn’t of used a green bowl! 
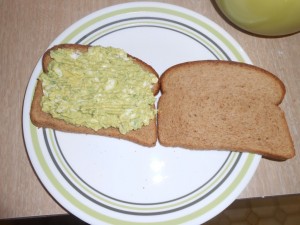
You’re done! Super easy sandwich, super delicious, and super healthy! 🙂 I hope you enjoy this as much as I do! 

Please follow and like us:
Posted on

OVEN HARD BOILED EGGS!

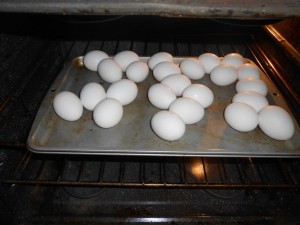
Okay, so you may be thinking how do you hard boil eggs in the oven, well you don’t. I just don’t know how to say it. You put eggs in the oven and they turn out like a hard boiled egg, but ten times easier and you won’t have to wonder if your eggs are too overdone or underdone. The yolk is perfect yellow and no green ring. They seriously come out perfect!  It is so easy and great just before Easter!

I’ve seen this going around on Facebook and Pinterest and HAD to give it a shot. I am very pleased I did it. They turned out great, and it is a lot easier then boiling them!

Step one:
-Preheat your oven to 325 degrees
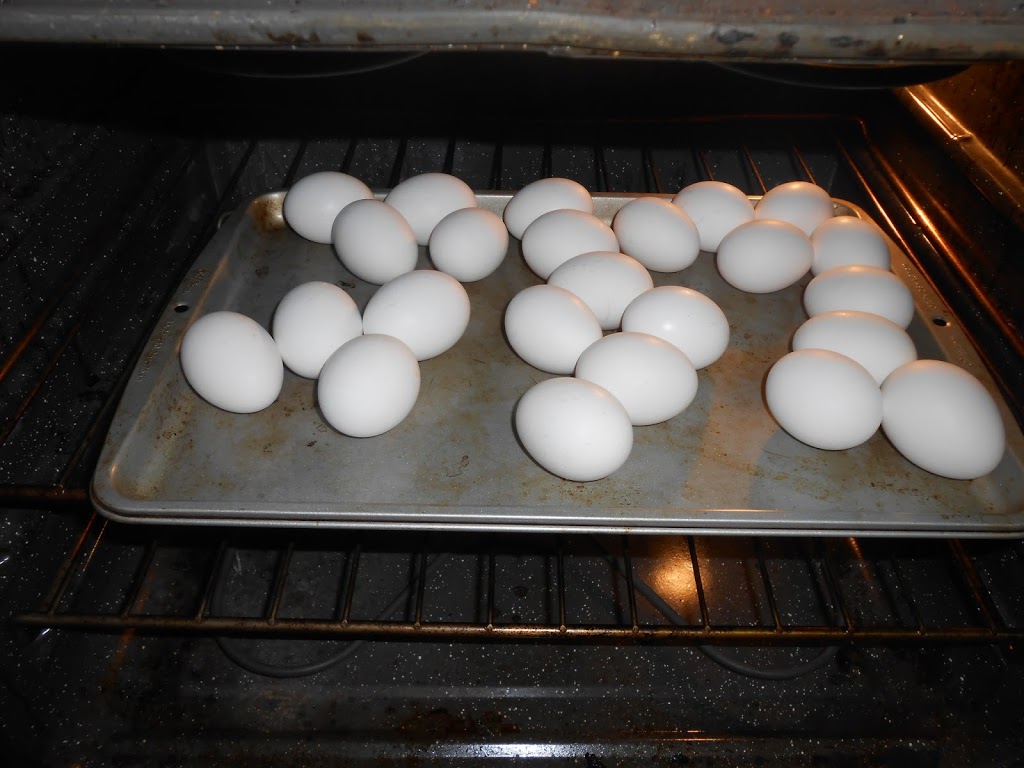
-Get your eggs and on put them on a cookie sheet, cake pan, or muffin tin. 

-Put them in the oven for 30 minutes. (It is a perfect time for them!)
Step 2: 
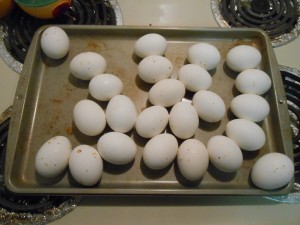
-Take your eggs out. If they happen to have brown speckled spots like mine, don’t worry, they come off! I am not sure why they had brown spots. Maybe from a dirty oven? If so, I need to clean mine! 
Step 3:
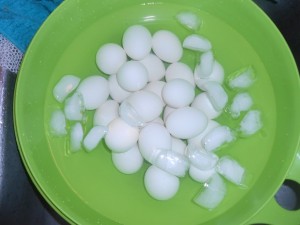
-Soak your eggs in ice water for about ten minutes
You’re done! Easy as that! We dyed the eggs, but the next day I used 3 eggs to make avocado egg salad sandwich’s, which are delicious! Yummm. That post will be for another day! 
Happy Easter!! I hope this makes your Easter egg dying a lot easier! 

Please follow and like us:
Posted on

Sweet-tart apple slices!

So my last food post was a little high on calories, okay REALLY high on calories! I figured I could maybe redeem myself by doing this post of a healthy, yummy, nutritious snack! Seriously, these apples slices are so yummy, and the kids will love them! I had my brother over today and he finished them off for us. He said they were so good. He asked me how I did it. Well here is the best part of these apples, they only have 3 ingredients! And most likely you’ll have them in your home, if you are a fruit lover like me that is. 🙂 I told him and he repeated it, yeah I think he was impressed!

This is going to be a pretty short post because honestly, it’s so easy.

What you need:

  •  2-3 sweet apples like Fuji or Gala – you can use tart apples like Granny Smith but this will be sour apple slices instead of sweet-tart apple slices! But if you like sour and no sweet then I recommend it!
  • 1 lemon
  • 1 orange

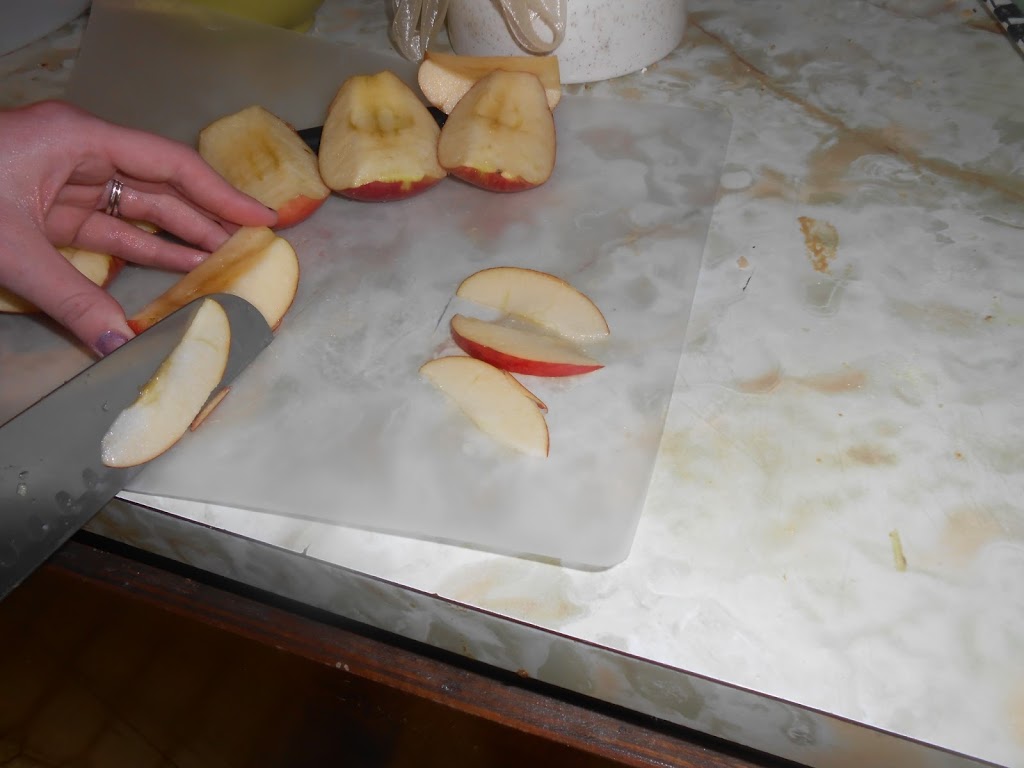
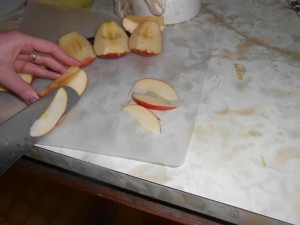
Grab your apples and slice the super thin. I like them thin because it can soak up more juice. The thick ones don’t get soaked very well, and it tastes like a plain ole boring apple slice. Where is the fun in that? You may think that 2 apples isn’t enough but if you cut them thin, like me it will be plenty.
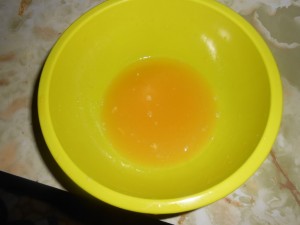
Grab your lemon and orange and squeeze the juice out into a bowl. I don’t have a squeezer or juicer so I had to do it by hand, but man would a juice squeezer be nice! 
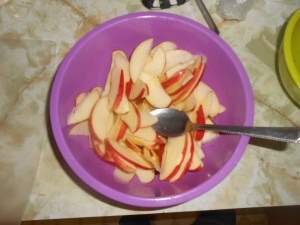
Pour the juice over the apples and set it in the fridge for at least half an hour. The longer it sits the more the apples soak up the juice. 
 Seriously, look how many apple slices I got from just 2 apples! Yeah….alot. 🙂 

You’re done! Enjoy a sudden burst of kick in your mouth. Your taste buds will be thanking you for trying this one! 🙂

Please follow and like us:
Posted on

Brown Butter Nutella stuffed Chocolate Chip Cookies. (AHHHHH-MAZING!)


You may be wondering what this totally delicious sounding cookie is, what it smells like, and seriously how delicious it truly is?! Let me tell you, once you eat this cookie, you’ll NEVER turn back to another cookie recipe. They’re just plain divine! I was a little down today and these cookies fixed my mood right up. These cookies are a way to a woman’s broken, sad, unhappy, mad, every emotion, heart! I got the recipe from here.  Here is a picture just to start making your mouth water. 🙂

This is about our 5th time making these, they taste just as good every time! My husband still agrees! 

We had our Relief Society Birthday Party last night and we were suppose to bring our favorite thing, and then someone would be taking our favorite thing home with them. I bet you can’t guess what I brought? 😉 Some lucky lady got to bring my cookies home. And I’m sure she gobbled them up.


I started out by putting my nutella in the fridge to get stiff. I have tried it both ways and putting it in the fridge is alot easier and cleaner! This is what your finished dough should look like.

I love how you can see the butter on this. Yumm.

Once your dough chills in the fridge for 2 hours take it out! If you keep it in for more then 2 hours it harden too much and then you have to wait for it to thaw a bit. Trust me the first time you make them you’ll only be able to last an hour and a half before popping them out and stuffing them with that delicious nutella goodness! Here are step to step pics of how to put nutella in the cookies!

1.


 2.

3.
Don’t mind the gross stained pan! It’s clean, just stained!
 4.

5.


Here is the recipe! 
Ingredients
  • 2 1/4 cup all-purpose flour
  • 1 1/4 teaspoons baking soda
  • 1/4 teaspoon of salt
  • 2 sticks (1 cup) unsalted butter (this time around I used salted butter because it was all I had. When I use salted butter I don’t add any salt into the recipe)
  • 1 1/4 cup packed dark brown sugar
  • 1/4 cup granulated sugar
  • 1 large egg plus 1 egg yolk
  • 1 1/2 teaspoons vanilla extract
  • 1 tablespoon sour cream (or yogurt) But sour cream is all I had in the house. It still tastes good! I promise. It moistens the cookies!
  • 3/4 cup semi-sweet chocolate chips
  • 1 cup milk chocolate chips
  • 1 jar of Nutella, chilled in refrigerator (you won’t use the full jar don’t worry!)
Instructions
  1. Whisk together the flour, baking soda, and salt in a bowl and set aside. Melt butter in a saucepan over medium heat. The butter will begin to foam. Make sure you whisk consistently during this process. After a couple of minutes, the butter will begin to brown on the bottom of the saucepan; continue to whisk and remove from heat as soon as the butter begins to brown and give off a nutty aroma. Set aside to cool for a few minutes.
  2. With an electric mixer, mix the butter and sugars until thoroughly blended. Beat in the egg, yolk, vanilla, and sour cream until combined. Add the dry ingredients slowly and beat on low-speed just until combined. Gently fold in all of the chocolate chips.
  3. Chill your dough for 2 hours in the refrigerator, or place in freezer for 30 minutes if you are super eager, although I cannot promise the same results if you do this.
  4. Preheat the oven to 350 degrees F. Once dough is chilled measure about 1 1/2 tablespoons of dough and roll into a ball. (Pictures above) Flatten the dough ball very thinly into the palm of your hand. Place 1 teaspoon, (I probably did more, I stuffed them like crazy!) of chilled nutella in the middle and fold dough around it; gently roll into a ball — it doesn’t have to be perfectly rolled! Make sure that the nutella is not seeping out of the dough. Add more dough if necessary. Place dough balls on cookie sheet, 2 inches apart and flatten with your hand VERY gently. (Really only the tops need to be flattened a bit!)
  5. Bake the cookies for about 7-8 minutes or until the edges of the cookies begin to turn golden brown. They will look a bit underdone in the middle, but will continue to cook once out of the oven. Cool the cookies on the sheets at least 2 minutes. Remove the cooled cookies from the baking sheets after a few minutes and transfer to a wire rack to cool completely. Repeat with remaining dough.


I need to work on my food photography, but the still look delish!


 They are so good dipped in milk!

These cookies are so so yummy! You need to go make them right not and see for yourself! Enjoy, you won’t regret it! 

Please follow and like us: