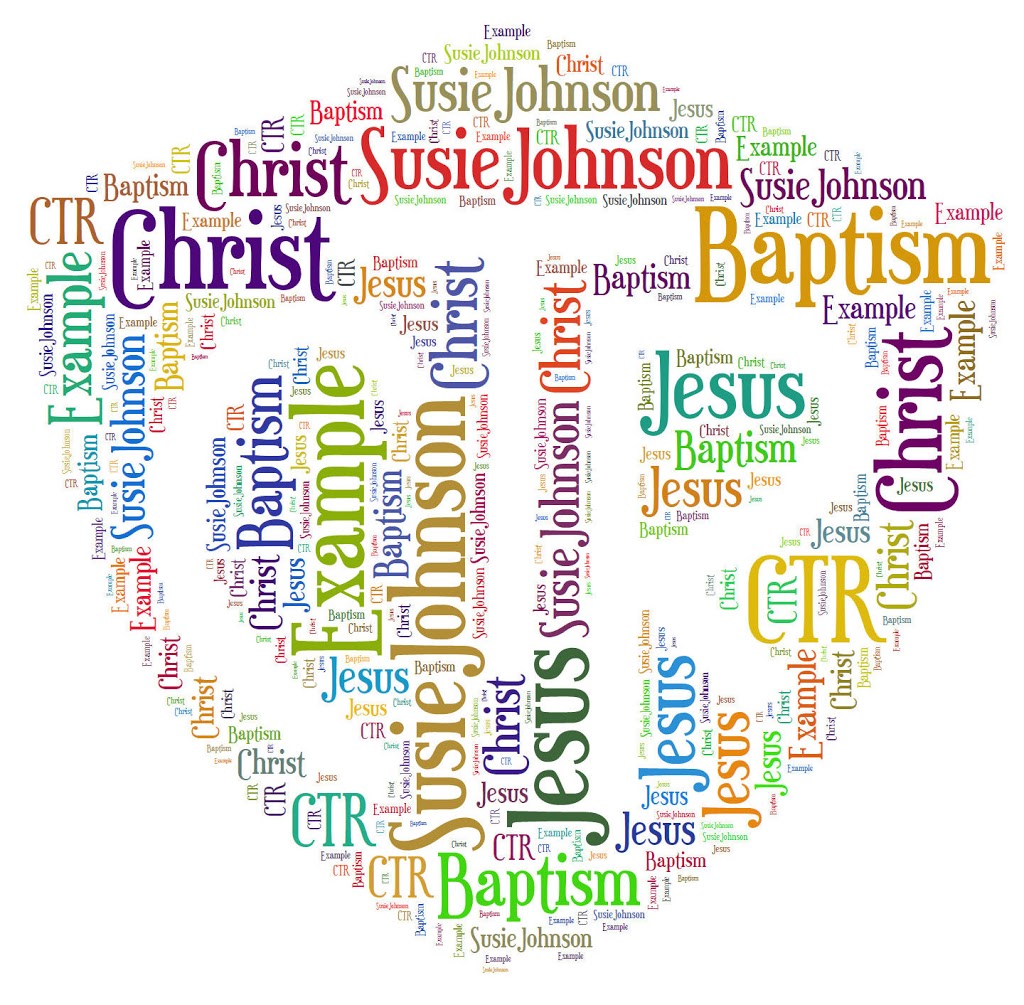
Have you ever heard of Tagxedo? Let me tell you, I discovered this the other day and I can’t get enough of it! It is just plain awesome. It puts words into an image for you. But it just looks awesome! Click right here to go to Tagxedo. I can’t explain to you how great it is, so let me just show you a picture!
Pretty sweet, right? Yes.
When I saw this site, I instantly knew what I wanted to give my 8 year old Primary kids for their baptism gift. This is what my Presidency and I are going to give the kids on the Sunday after they are baptized. I think it is a perfect baptism gift! I am so glad I found this site.
At first the site seems like you can only have the 25 or so pictures they have to offer. That’s not the case!! Once you get to the site click on Images I believe and scroll to the bottom, you can download an image. So you can pick any image you want and write any words you want in it, and they have tons of color themes, and font themes to choose from. It is a genius website, and it’s FREE!
For the gift, we just print this image with their name and all the other words in the above picture and change it to their favorite colors. We print it on card stock, and then we just buy an 8×10 frame at the dollar store. It is such a cute, simple, and heart warming, gift. It will help them remember to keep their covenants they made on their baptism day. I love it, don’t you. 🙂
Now, tagxedo is very, very hard to figure out at first. So I decided I would give you all some tips when using it at first.
1. GETTING YOUR DOWNLOADED IMAGE:
When you start your image will automatically be of the Earth. The words all over it will be Mother, and Earth. To change this click on Shape, it will give you many different options to choose from. To get your own image, scroll to the bottom of the shapes and click on download image. (or something like that) It will then pop your image up you can change the blur and the other option it gives to the best way you like it. Click accept, and it will show you what your image looks like, if it looks bad go back and try to fix it.
2. THE WORDS:
This took me forever to figure out how to change the words. I had a CTR shield and the words Mother and Earth all over it. After seriously 30 minutes of searching I found where to do it!
- Click on “Load”, it is above the Save option. Once you click load, it will have a box to put a url, and a text box.
- Use the text box to write whatever words you want. I only had about 5 words on my image, So I just wrote the ones I wanted to be the biggest 2 or 3 times. The more frequent the word, the bigger than the rest of them.
I hope this saves you time by reading this step, because it was a bugger to find for me!
This is pretty simple. After the word Font, Theme, etc., it will have a swirl after the words. Don’t click that. It will change everything you just worked on to something random. There will be an arrow after that. Click that, and you can change your font and color (which is the theme).
Hope these help you out and save you a little bit more time then it did for me! 🙂
Please follow and like us:


